
Installing wall covering panels can completely transform the look and feel of any room in your home. Quality wall panels are versatile, budget-friendly, and have the same natural look and textures as real brick and stone.
Compared to installing real brick or stone, installing faux wall panels over drywall is a pretty straightforward task. But as with any DIY project, it requires some preparation.
In this article, we share tips to help you choose the right wall panels, and walk you through the simple steps for how to install wall paneling with adhesive.
Table of Contents
Below is an outline of how to install wall panels over drywall. When you’re ready to install, follow these detailed panel installation instructions.
- How to Glue Wall Panels: Getting Started
- Step 1: Orient Panels To Determine The Order Of Installation
- Step 2: Clean And Prepare Surfaces
- Step 3: Trim The First Panel For Installation
- Step 4: Mark Your Level Line
- Step 5: Install Optional Corner Piece
- Step 6: Apply The Adhesive
- Step 7: Adhere Panel To The Wall
- Step 8: Screw Panel To The Wall
- Step 9: Add Caulk And Adhesive
- Step 10: Repeat Steps 6 through 9 as Needed
- Step 11: Begin Next Row(s)
Choosing The Right Wall Panels
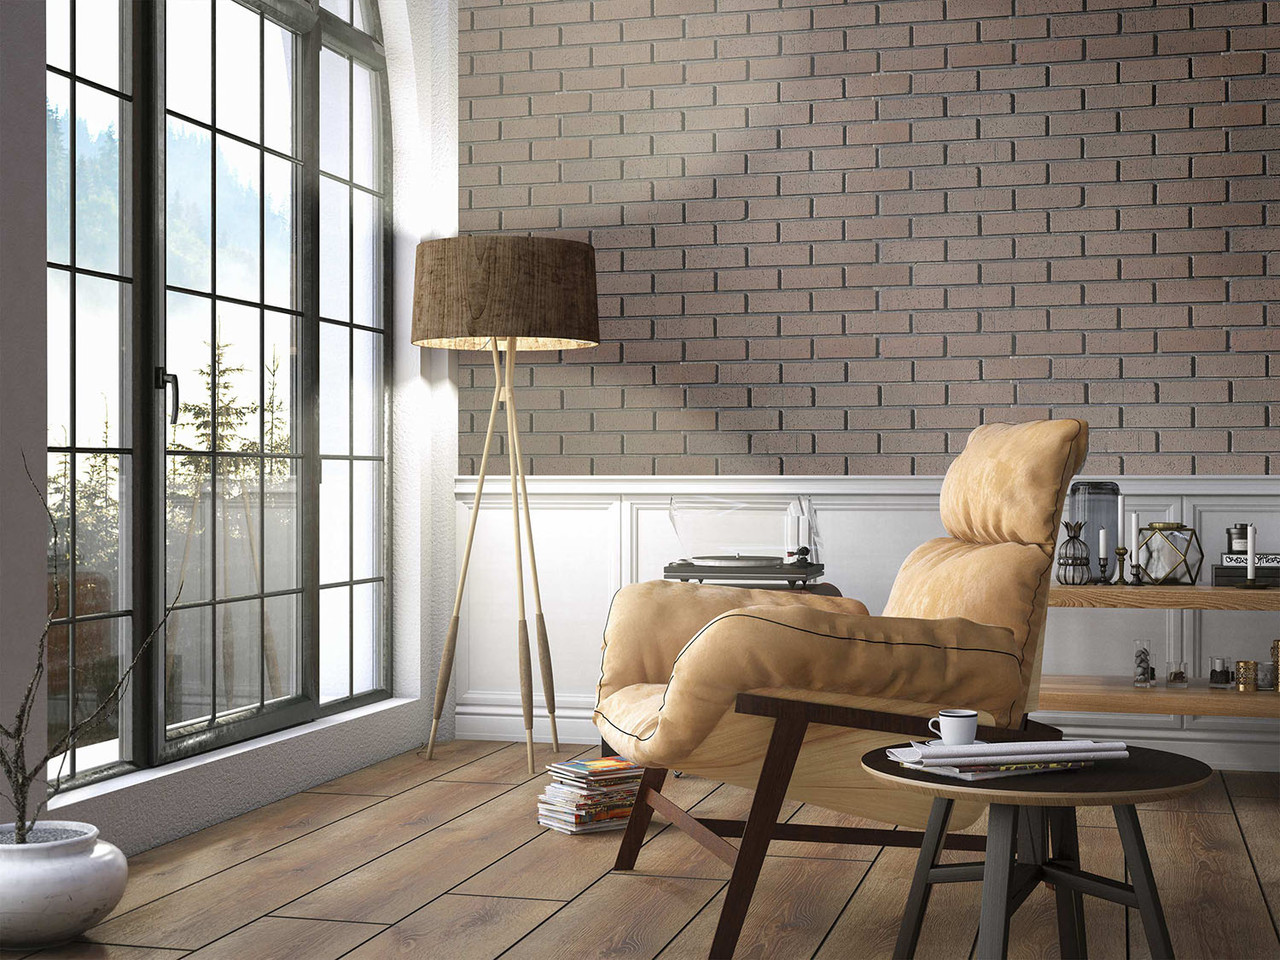 Contemporary Faux Brick Wall Panels in Blush Currant
To help you choose the right wall panel style and color, decide how much of the wall you want to cover. Wall panels are great for creating stunning accent walls, or for covering an entire room. It all depends on the effect you want.
Wainscoting the bottom third or half of a wall is another option. This look gives your walls the necessary protection from everyday wear and tear and adds a whole new dimension to your space.
Once you know how much wall space you want to cover, measure the square footage of the area. This way, you’re sure to purchase the right size and amount of panels. For more help, on every product page of our website, there’s a helpful quantity calculator tool to help you order the right amount.
AZ Faux offers a wide range of wall panels for any design or aesthetic. Start your home upgrade by exploring every gorgeous faux wall panel we offer!
How to Glue Wall Panels: Getting Started
Before you start, make sure your drywall is in good, sound condition.
Then, gather the following tools and materials:
- Caulk gun
- Chalk Line/Laser
- Clean cloth
- Color-coordinating textured caulk
- Cotton Swabs
- Deck Screws
- Level
- Loctite PL Premium 3X Construction Adhesive
- Panels
- Pencil
- Safety Glasses
- Screw Gun / Drill Driver & Driver Bits
- Small Paint Brush
- T-Square
- Tack Cloth
- Tape Measure
- Touch-Up Kit
- Water
- Wood Cutting Saw With Finish Blade
Tip:
(1) tube of Loctite PL Premium 3X adhesive is typically needed for every (3) panels
(1) tube of textured caulk is typically needed for every (4) panels
Prepare for Installation
Your panel installation will run left to right or right to left depending on your panel style. To determine your installation workflow, orient one of your panels so that the flat lip on the long side (A) is up.
If the fingers project to the left, the installation will run left to right. If the fingers are on the right side of the panel, the installation will go right to left.
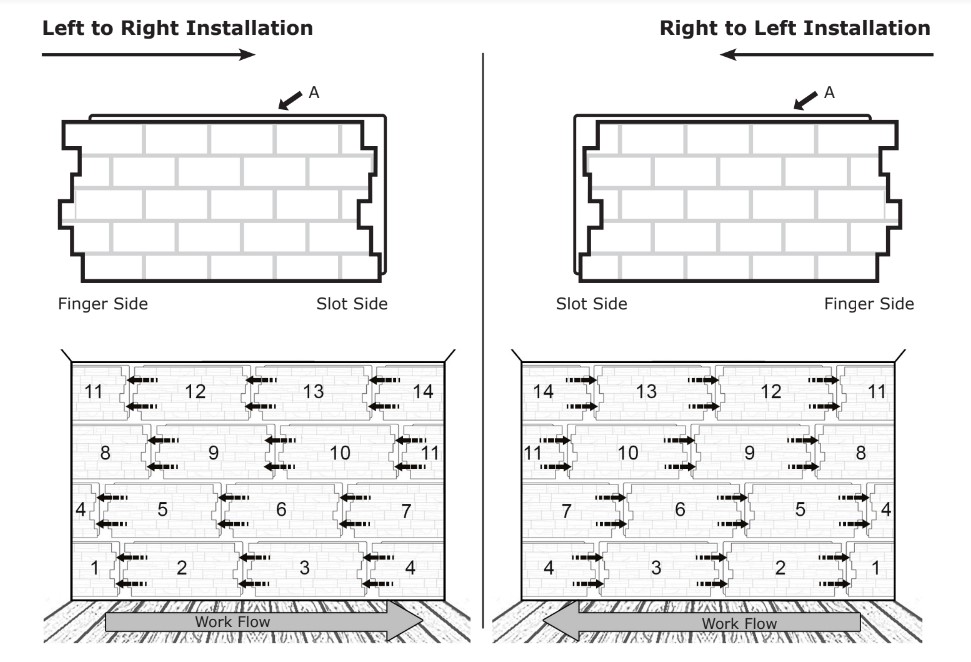 Faux wall panels installation direction diagram.
If you’re working with corners, determine the best approach for your project using our corner installation instruction sheet.
Step 1: Orient Panels To Determine The Order Of Installation
Orient each panel so that the flat lip on the long side (stamped “A”) faces up.
Frequently the panels will have “A” and “B” stamped on the flat lip (A) to indicate the different molds. When both are available, it is a good idea to try to alternate between A and B panels when installing. This creates a more realistic finished look.
Step 2: Clean And Prepare Surfaces
Cleaning and prepping your walls is crucial in ensuring proper adherence to paneling.
Use a wire brush on hard surfaces to remove any loose debris. Use a tack cloth to take care of sawdust, dirt, or other unwanted particles/substances.
Step 3: Trim The First Panel For Installation
- On a soft surface, turn the panel over and place a mark when you plan on cutting the panel. Then trim the panel using your wood cutting saw.
- Trim at least ¼ of the panel to keep waste minimal.
- The first used side will be the slot side; please reserve the finger side for a later part of the project.
Step 4: Mark Your Level Line
To mark your level line, use a level to find the high point on the ground or floor. Then take a full-size panel, hold it against the wall, and mark the height along the length of the wall using a chalk line or laser.
Step 5: Install Optional Corner Piece
When using corner pieces, install the first corner panel before any other panels in the project. Steps for corner pieces slightly differ depending on whether they are flush corners, interlocking corners, or endcaps.
For the best result, follow our corner installation guide with these wall panel installation instructions.
Step 6: Apply The Adhesive
To ensure a tight bond, follow these guidelines for how much adhesive to use for wall panels. Flip the panel over and apply dabs of construction adhesive in vertical lines, starting 2” from the edge and continuing every 6” along with the panel interior. Add small beads to the back of each finger, as well.
Note: Use a tack cloth to wipe the back of each panel before applying adhesive.
Step 7: Adhere Panel To The Wall
Place the panel against the wall, using a slight twisting motion to ensure the best contact. Check that the panel is level and lines up with your level line drawn in Step 4 and is plumb with the edge of the wall.
Step 8: Screw Panel To The Wall
Place one screw per foot along the perimeter of the paneling, as well as one screw per square foot in the middle of the panel.
These screws should be slightly recessed. Try placing them in grout lines or under rocks to make them less noticeable. Be sure to not over-tighten screws!
Step 9: Add Caulk And Adhesive
Begin by adding adhesive to the lip of your panel, approximately 1” from the face. Apply a bead of textured caulk where the panel meets the face. Then, use a damp cloth to remove any excess caulk or adhesive.
Note: Apply caulk during this stage to protect your panels and achieve a more realistic appearance.
Step 10: Repeat Steps 6 through 9 as Needed
Keeping the same tools from previous steps, adjoin the panels together while ensuring they match up with the level line. Dry fit the panels before you apply adhesive to make sure each panel sits flush. Trim when necessary.
Trim the last panel of a row from the finger side. After applying adhesive/caulk, wipe away any excess with a damp cloth.
Tip: Check if any previously cut panels can be used to finish a row before trimming a full panel.
Step 11: Begin Next Row(s)
Begin the next row directly above the first panel. Make sure you offset the seams. Panels should make a shiplap joint.
Apply adhesive to the top lip of each panel below before placing the new panels above.
Take your time to ensure a reliable, tight fit between the panels.
Tip: Carlton and Herringbone Brick Panels will not have offset seams.
Step 12: Touch-Up Where Necessary
Add a bead of caulk to any mitered corners and any place a panel butts against another surface. Add caulk to any voids or holes, such as gaps or holes from screws. Fill and blend carefully.
Depending on whether or not your touch-up kit comes with a base coat, a cotton swab should be used to apply a thin layer. Allow the base coat to dry completely, which usually takes about 30 minutes.
For kits containing a wash, apply this wash with a small paintbrush. Dabbing with a soft cloth can help to blend well.
Any bottles labeled with “wash concentrate” should have tap water added to the neck of the bottle. After adding water, replace the lid and shake well before use.
Tips:
- Start with the lighter colors
- When mixing colors to create a specific shade, using a scrap material is best
- Use water to thin paint when necessary
Top Tips for Installing Wall Paneling
These helpful tips will ensure that you are happy with your finished product.
Let Your Panels Acclimate to The Environment
After your panels are delivered, lay them flat in the installation location for at least 24 hours. This will give the panels time to acclimate to the environment. Be sure to keep them away from moisture and heat sources.
Choose The Best Adhesive for Wall Panels
When installing wall panels to drywall, a combination of screws and a quality construction adhesive is most effective.
For the best results, we recommend using Loctite PL Premium 3X Construction Adhesive.
It sets in 30 minutes and, under most weather conditions, fully cures in 24 hours. It’s an ideal all-purpose adhesive for both interior and exterior projects.
Start Your Wall Panel Project Today!
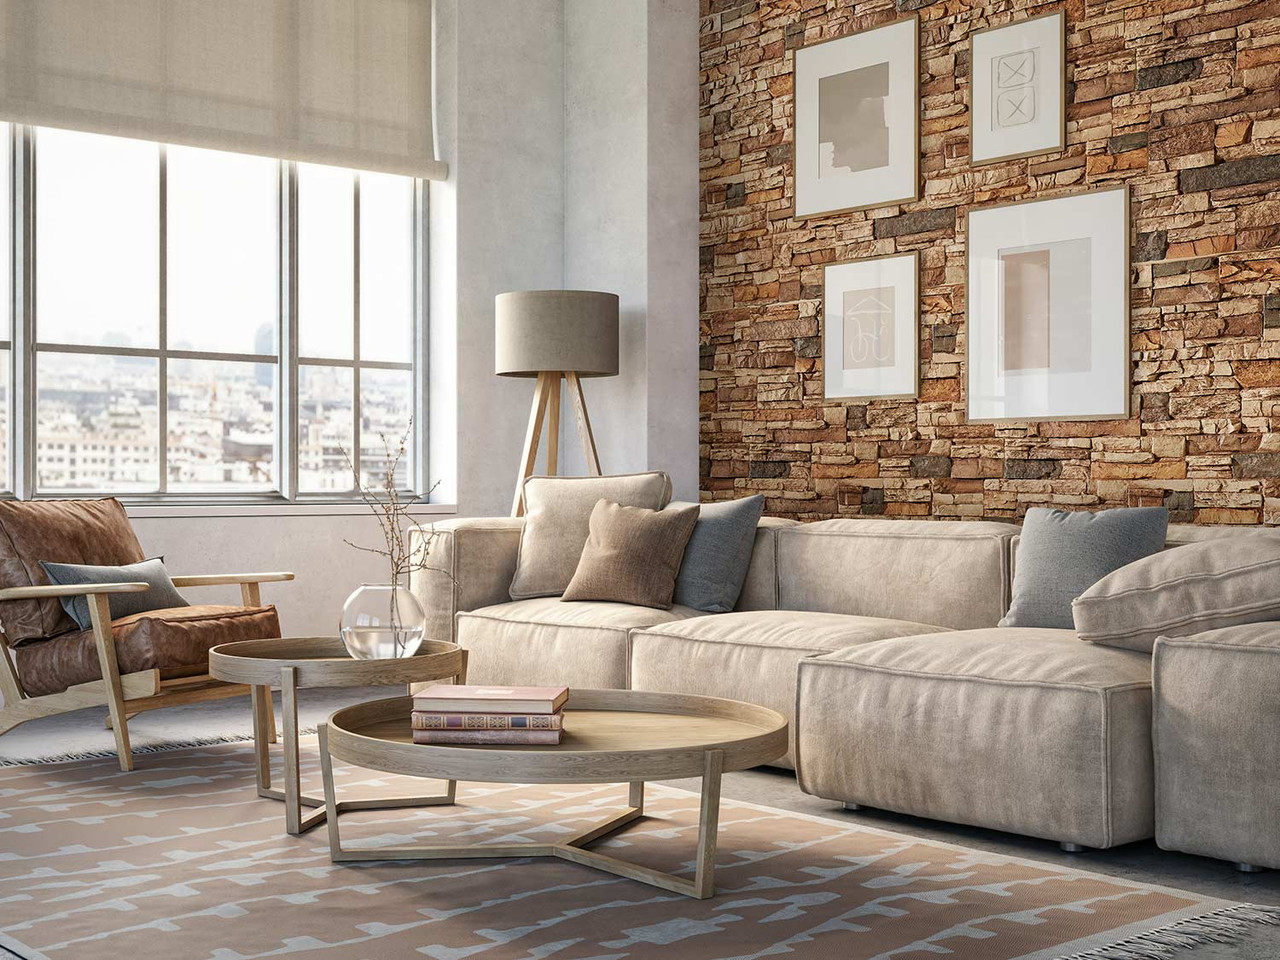 Denver Dry Stack Faux Stone Wall Panels in Sienna
Transforming the look of a room is as easy as picking your favorite panel style, gathering your tools and materials, and following our step-by-step installation guide.
Our realistic collection of faux stone and faux brick wall panels is perfect for DIYers on a budget. Each panel is handcrafted to have the same look and feel as authentic brick or stone, without the expense and complicated installation.
Feeling inspired? Browse our decorative wall covering panels below. If you need any further help, contact our customer experience specialists who will be happy to answer any questions.