Table of Contents
- How to Install Exterior Faux Wood Beams
- Before and After: Faux Wood Beams on a Home Exterior
- Other Ways to Use Faux Wood Beams on Your Home’s Exterior
- Frequently Asked Questions
- Finish Your Exterior Project with Faux Wood Beams
Faux wood beams are often used to enhance interior spaces—but they can have just as much impact on a home’s exterior.
In this project, a homeowner completely reworked the rear of their home, replacing an outdated deck with a multi-level outdoor living space. As part of the build, faux wood beams were installed to cover structural LVL beams and bring a more finished, cohesive look to the covered areas.
In this guide, we’ll walk through how to install exterior faux wood beams step by step, highlight the key phases of this renovation, and share additional ways to incorporate beams into your home’s exterior.
How to Install Exterior Faux Wood Beams
Faux wood beams are lightweight and designed for straightforward installation, making them a practical option for exterior projects. With basic tools and proper planning, many homeowners can install them without specialized woodworking experience.
Before You Get Started
Before you start the exterior beam installation process, make sure the surface your beam will attach to is structurally sound and in good condition.
Whether you’re installing beams on the roof of your covered porch or installing them as an accent on your front porch, the installation surface should be flat and smooth to minimize visible gaps. If repairs are needed, complete them before beginning the installation process.
Next, gather the following tools and materials:
- Caulk Gun
- Chalk Line/Laser
- Clean Cloth
- Color Complementing Textured Caulk
- Deck Screws
- Hand Saw with Finish Blade
- Ladder (2)
- Painters Tape
- Pencil
- Loctite PL Premium 3X Construction Adhesive
- Safety Glasses
- Screw Gun/Drill Driver and Bits
- Small Paint Brush
- Square/T-Bevel
- Stud Finder
- Tack Cloth
- Tape Measure
- Toggle/Lag Bolts
- Touchup Kit
- Wood Beams
- Wood Blocking (2x4” or 2x6”)
- Wood Cutting Saw with Finish Blade
Below is an overview of how to install faux wood beams on a home exterior. When you’re ready to get started, follow our detailed installation instructions with diagrams.
Step 1. Lay Out the Installation
Determine how far apart to space your beams, and in which direction you want them to run. If you’re unsure what spacing will work best, refer to our ceiling beam spacing guide and calculator to plan your layout.
Step 2. Locate Studs and Mark Them
Using a stud finder, locate the studs and mark them with a pencil. If the studs don’t line up with the installation, use toggle/lag bolts to attach your mounting blocks. Mark all studs using a stud finder and pencil.
Step 3. Calculate How Many Mounting Blocks You Need
Faux wood beams are attached to surfaces using mounting blocks. To calculate how many mounting blocks you need, use the formula A+B+C.
- 1 block at each end of the beam (2 blocks)
- 1 block at least every 3 feet of the beam
- 1 block used at the joint where beams meet if you’re using more than one beam in a run
Step 4. Measure and Cut Your Mounting Blocks
Now that you know how many mounting blocks you need, you will calculate how large your blocks need to be. To do this, measure the inside dimensions of your ceiling beam, then subtract ⅛ inch.
Then, cut the quantity of mounting blocks you calculated in step 3 and pre-drill at least two holes per block to make them easier to attach. Double check that each mounting block fits inside the beams.
Step 5. Attach Mounting Blocks to the Ceiling or Surface
Attach the first mounting block as close to the side wall as possible and in line with the guides you drew in step 1.
Then, secure additional mounting blocks to the installation surface at 3-foot intervals using screws into studs or toggle/lag bolts. Be sure to place a block where the beams meet if you’re using more than one beam in a run.
Mark the location of your mounting blocks by placing painter's tape on the ceiling about 1½ inches from each side of the blocks.
Step 6. Dry Fit the Beam
Check your beam length by dry-fitting it in place. Your beam should fit snug, but shouldn’t need to be forced into place. Trim as needed.
Step 7. Apply Adhesive
Wipe the edges of the mounting blocks and the inside of the beam to remove any dust and debris. Then apply adhesive to the edges of the mounting blocks that will touch the beam.
Step 8. Install the Beam
Slide your beam into place over the mounting blocks.
To hold the beam in place while the adhesive dries, slightly countersink at least two screws per side through the beam at each mounting block. This holds the beam in place until the adhesive dries. Wipe off visible adhesive with a clean cloth.
Step 9. Touch Up the Beam
Apply color-matched textured caulk to fill the screw holes, then blend the caulk into adjacent surfaces while it is still wet.
If necessary, apply caulk to joints and gaps. Use paint from your touch-up kit to paint over the caulk for a seamless finish.
Before and After: Faux Wood Beams on a Home Exterior
One homeowner outside of Erie used faux wood beams as part of a larger exterior renovation that completely reworked the back of their home.
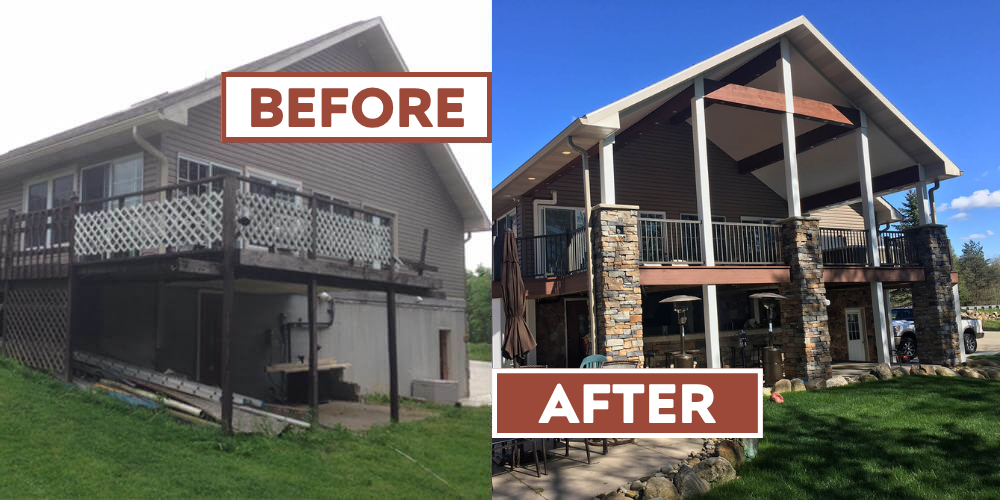
Before and after: home exterior renovation with new covered porch and faux wood beams
In the original layout, the elevated deck lacked coverage and didn’t provide a defined or comfortable gathering space. The homeowner chose to remove the existing structure and rebuild the area from the ground up.
 Before renovation: existing deck and exposed lower level of the home exterior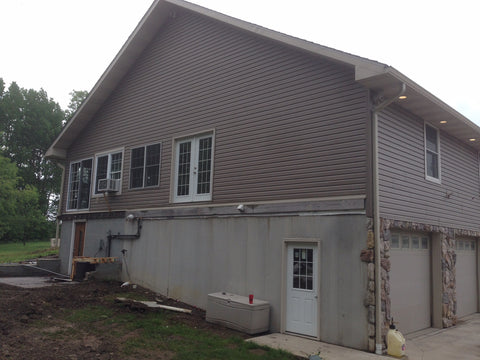
As shown in the before images, the space was largely open beneath the deck, with limited use beyond basic access. Rebuilding the area into a multi-level outdoor living space required relocating the septic tank and leach field, along with waterproofing the upper deck to support a covered lower-level kitchen.
Once the main structure was in place, faux wood beams were installed to conceal LVL beams and complete the ceiling design. Recessed lighting was also integrated into the beams, allowing the space to remain usable after dark.
The finished project includes an upper deck and a covered lower patio, each designed for dining, relaxing, and entertaining.
 After renovation: completed home exterior with covered porch and faux wood beams
Other Ways to Use Faux Wood Beams on Your Home’s Exterior
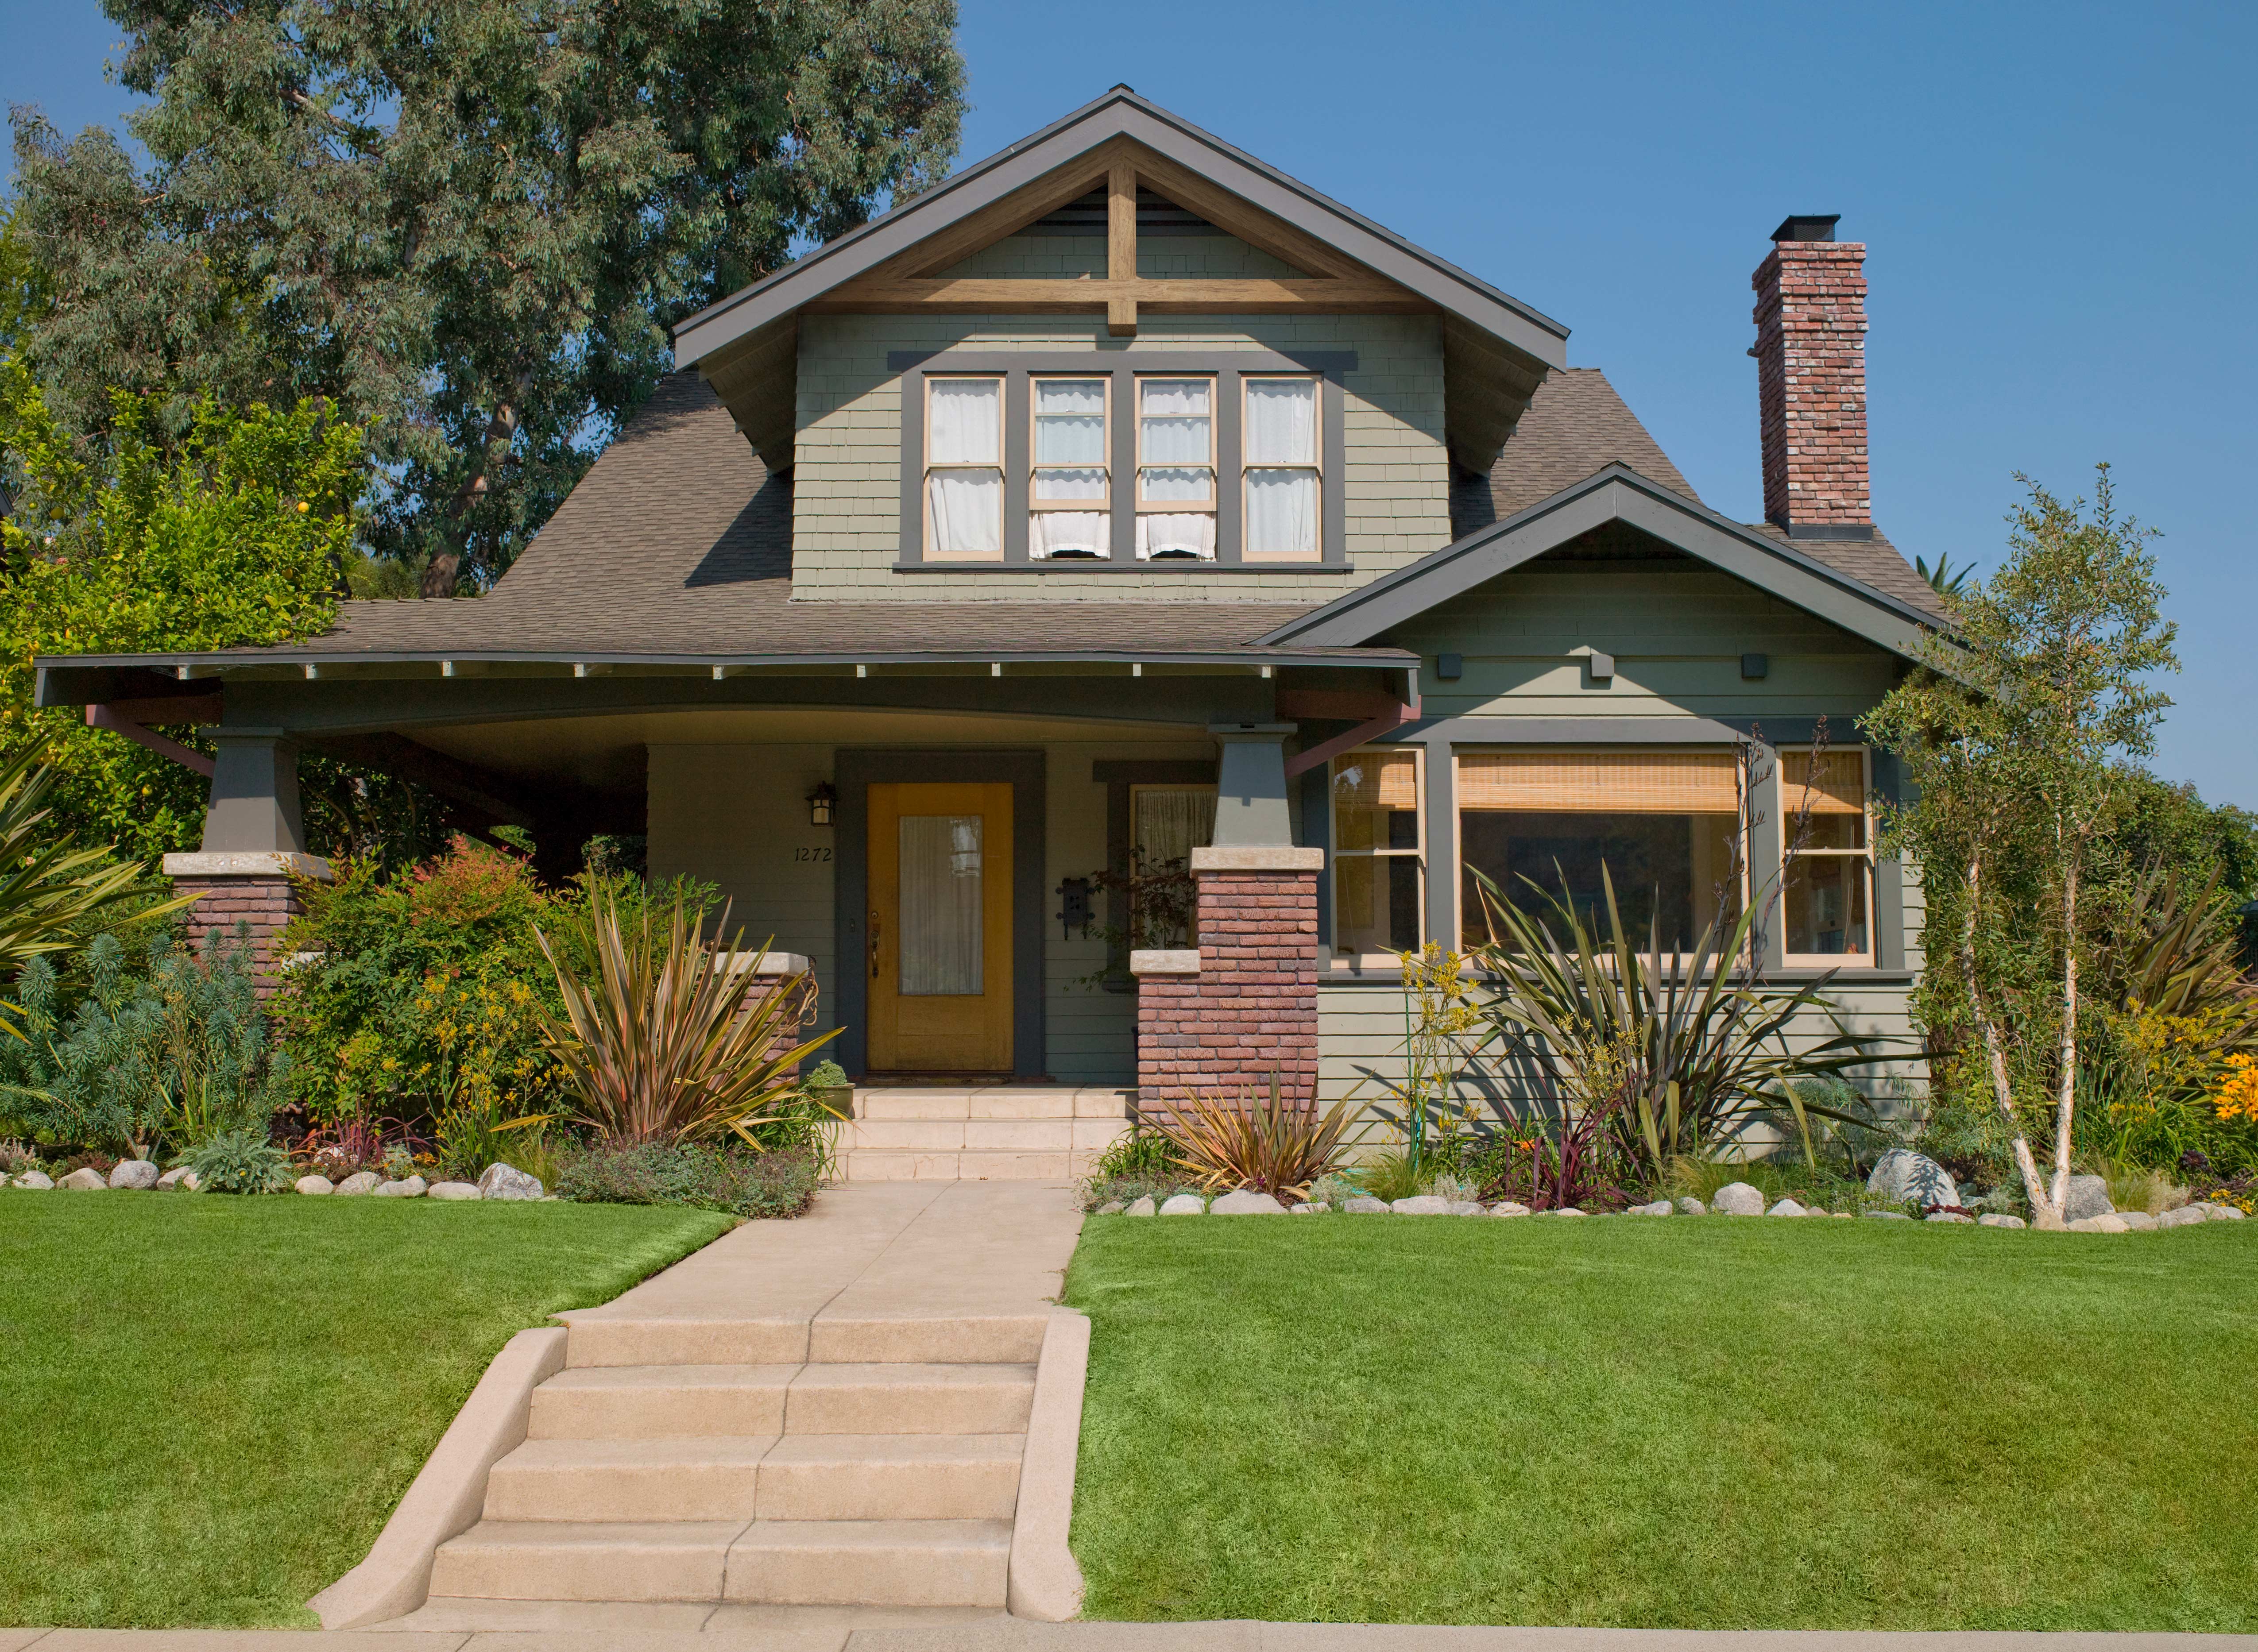 Old Barn Faux Truss in Sable
Faux wood beams can be incorporated into a variety of exterior applications beyond covered ceilings. Here are several additional ways to use them on your home’s exterior.
Front and Back Porch Accents
Install beams across porch ceilings or entryways to create a more defined overhead feature and draw attention to the structure.
Enhance Your Gables
Add decorative beams in roof gables to highlight architectural lines and introduce contrast to open areas.
Garage Door Framing
Frame garage doors with faux beams to give the exterior a more finished, polished look.
Upgrade Exterior Columns
Because faux wood beams are hollow by design, they can be used to wrap existing porch columns, giving them a more substantial and refined appearance.
Outdoor Kitchens
Install beams above outdoor kitchens or bar areas to visually anchor the space and connect it to surrounding architectural elements.
Decorative Beam Accessories
Incorporate beam accessories such as straps, plates, or faux iron hardware to introduce additional detail and variation.
Farmhouse-Style Exteriors
Faux wood beams can be used to achieve the exposed wood look often associated with modern farmhouse exteriors.
Outdoor Fireplaces
Install a faux wood mantel that coordinates with nearby beams or columns to create a cohesive feel across the space.
Breezeways
Add beams across breezeways or connecting walkways to better connect adjoining spaces and improve visual continuity.
Frequently Asked Questions
If you’re planning to install faux wood beams outside, you may have a few questions. Here are some helpful answers to get you started.
Can I use faux wood beams outside?
Yes. Faux wood beams are made from high-density polyurethane, a durable material designed for exterior use.
Unlike solid wood, they resist moisture, pests, warping, and rot, making them a low-maintenance option for outdoor applications.
Will faux wood beams fade in the sun?
AZ Faux wood beams are designed to resist fading, even with prolonged sun exposure. If you’re concerned about fading, contact customer service for a quote on adding an enhanced UV finish coat.
What type of faux beam styles and finishes are available?
AZ Faux offers a wide range of beam styles and finishes, from rustic to modern. Each style features textures that replicate the look of natural wood.
Beams are available in a variety of colors, from deep Espresso Brown to lighter tones like Misty Harbor. Unfinished options are also available if you prefer to paint or customize your beams.
You can also order samples to compare finishes before making a final decision.
How do I choose the best faux beam style for my home exterior?
The right style and finish depend on your home’s overall look and personal preference. Browsing available styles and ordering samples can help you see how different options complement your exterior.
For example, farmhouse-style homes often pair well with Magnolia or Hewn beams, while smoother finishes like Saw Cut or Band Sawn suit more modern designs.
How do I care for my exterior beams?
Faux wood beams are designed to be low-maintenance and resistant to common issues like rot, cracking, and pests.
To keep them looking their best, clean them occasionally with mild soap and water, and check seams or caulking for wear. Removing debris buildup as needed will also help maintain their appearance over time.
Finish Your Exterior Project with Faux Wood Beams
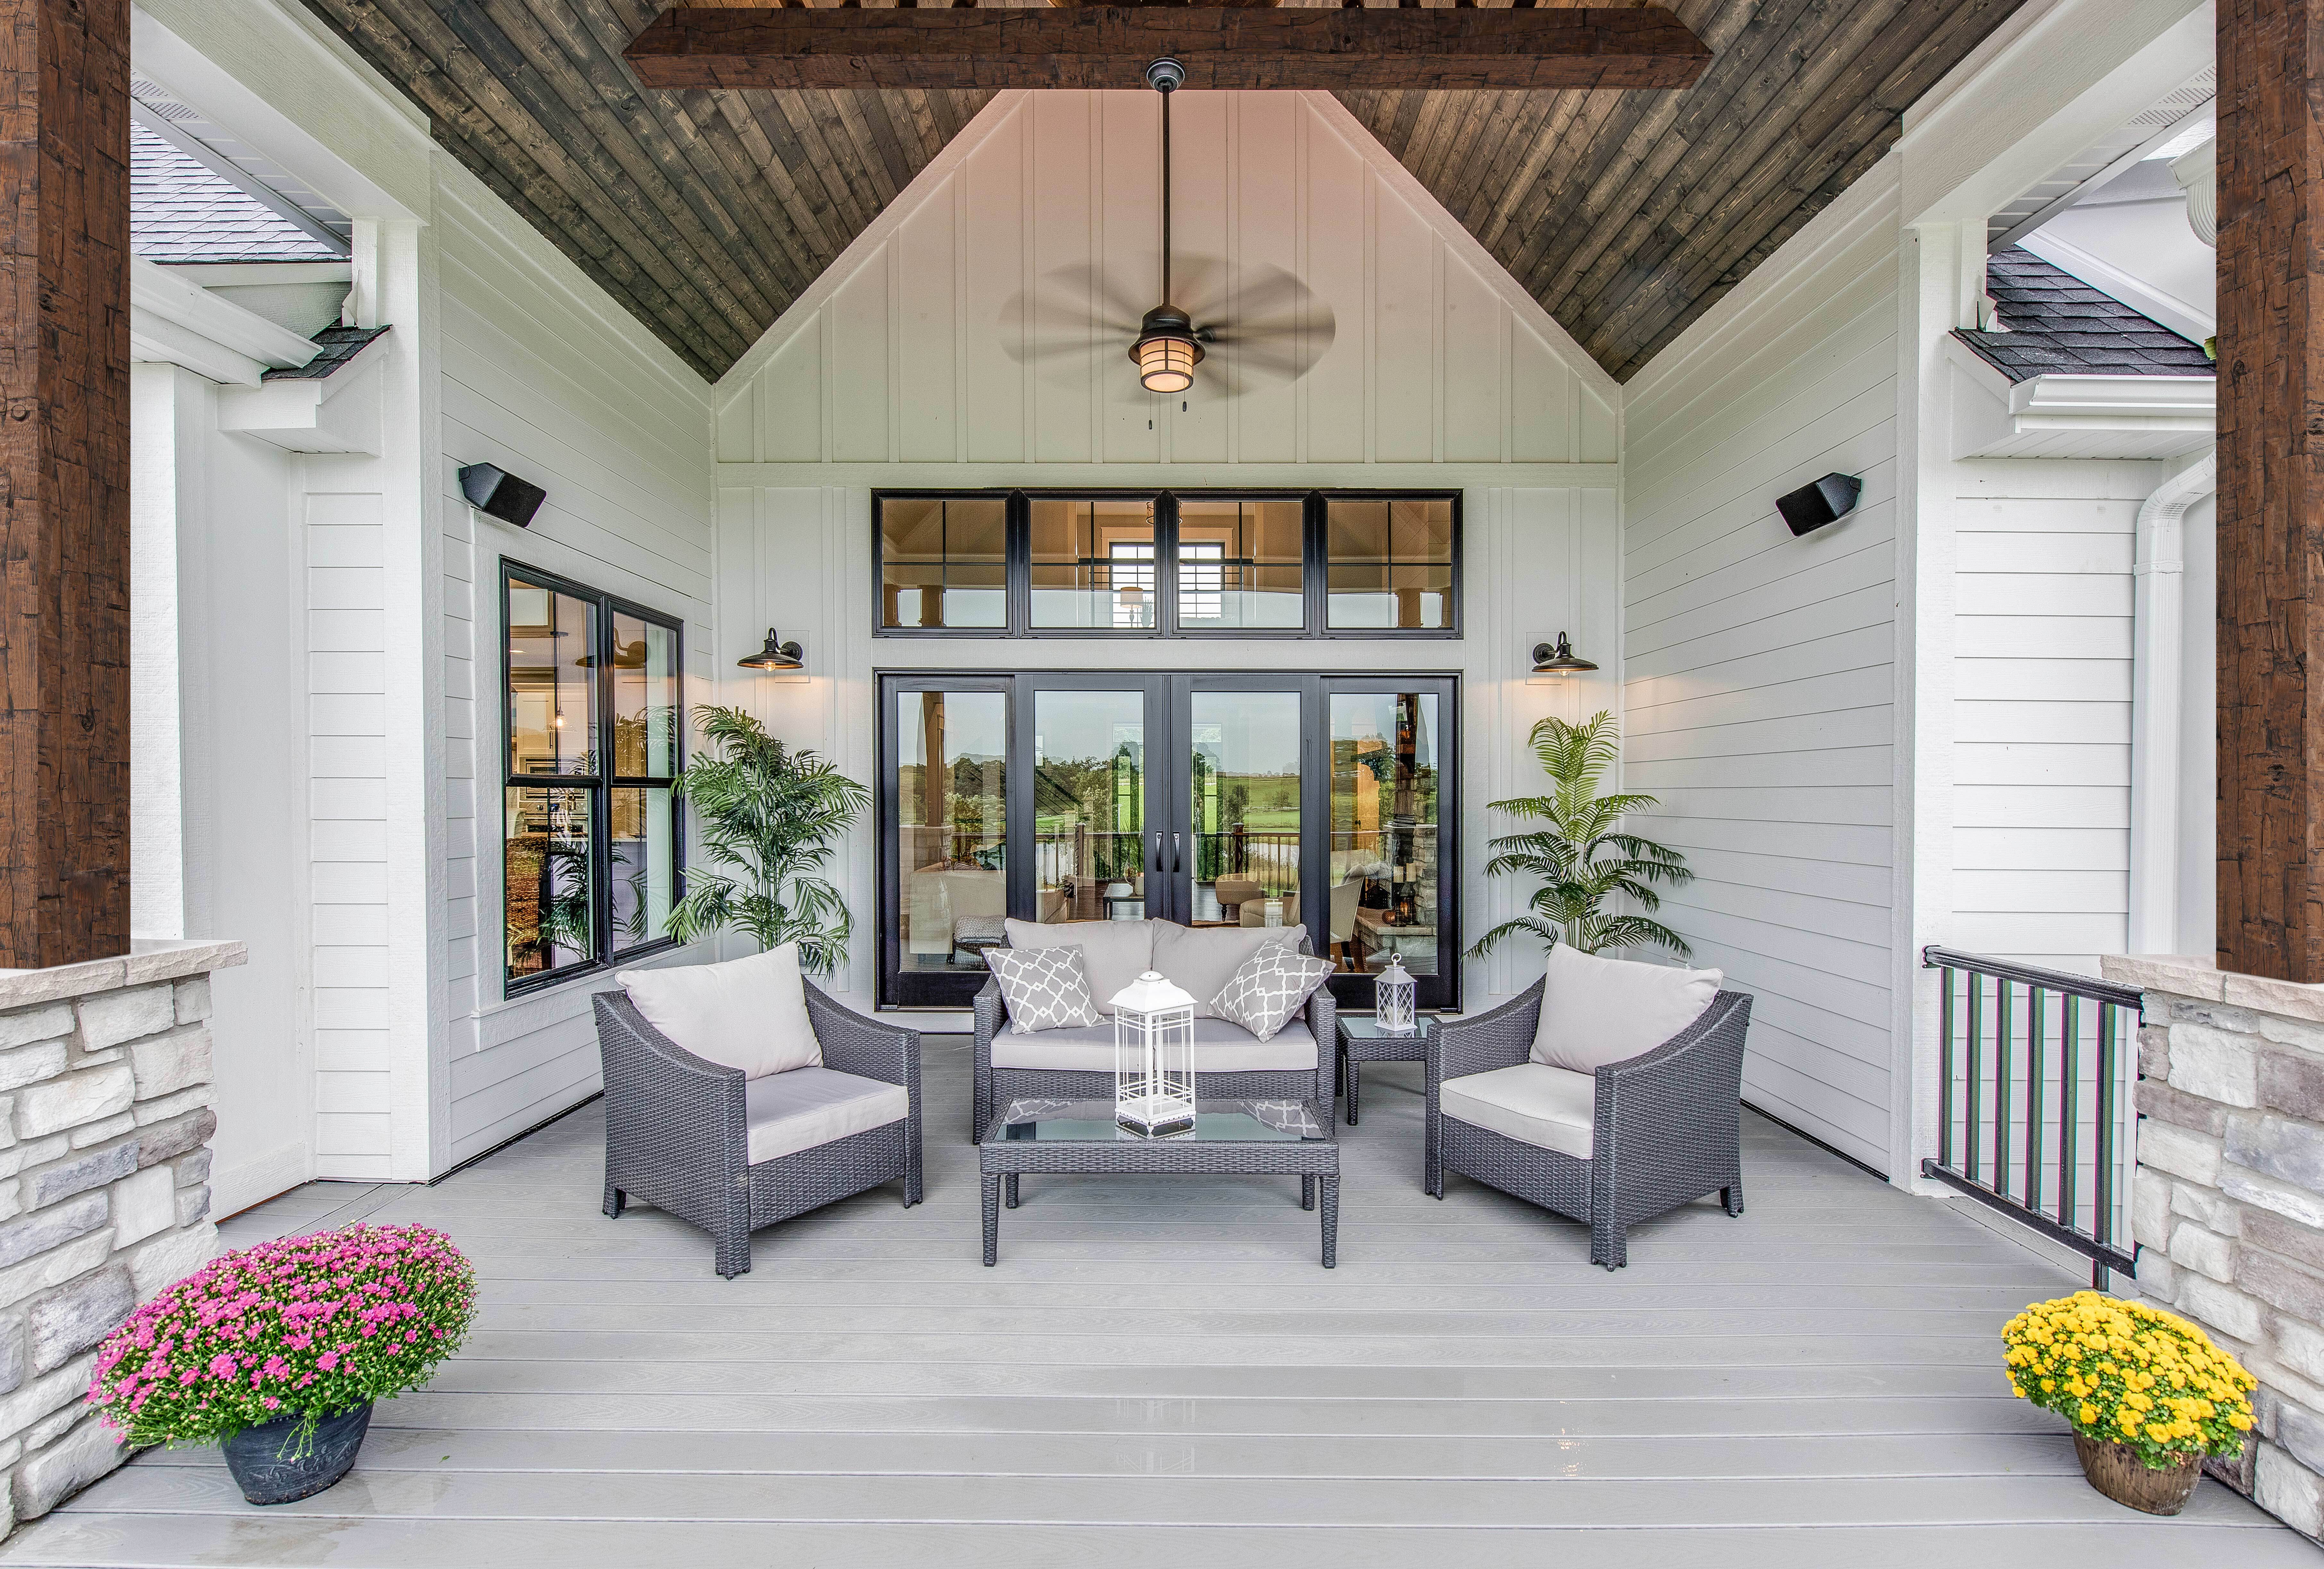 Old Tuscan Faux Beams in Burnished
Faux wood beams offer a simple way to upgrade your home’s exterior without the weight, cost, or upkeep of solid wood.
Whether you’re adding beams to a covered porch, framing an entryway, or incorporating them into a larger renovation, the right style and placement can help tie your outdoor space together.
Ready to get started? Browse our full beam collection, compare finishes, and discover how easily exterior faux wood beams can enhance your home.