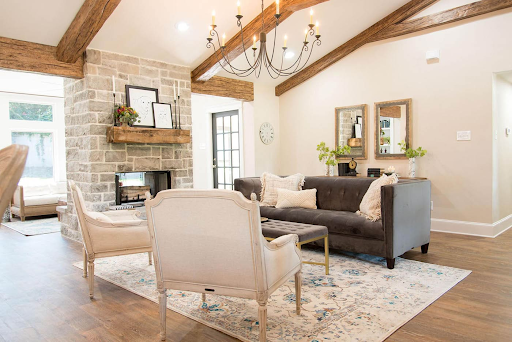
Faux wood beams are a great way to get the look of wood beams at a fraction of the price. While there are many other benefits to faux wood beams besides their cost-effectiveness, they are often preferred by homeowners because of their customizability.
At AZ Faux, our faux wood beams are custom-built to your exact specifications. Our faux beams also come in a variety of finishes including:
- Espresso Brown
- Pioneer
- Weathered Gray
- Log
- Fresh Coffee
- Sable
- Burnished
Our finished beams include a kit for basic touch-ups that are easily done with a standard paintbrush. Nonetheless, many of our customers prefer to receive unfinished faux wood beams and finish them on their own to get the precise color of their unique preference.
For the best results, order an unfinished beam sample, then take it to your local paint store for recommendations on the proper water-based product to use. This way, you can practice painting the sample before you commit to finishing a whole beam.
Customizing the stain and color of your faux wood beams is a great way to make your faux wood beams more distinctive to your home and style. There are only a few items needed and steps for how to finish faux wood beams are easy (and fun!). Before you know it you’ll be well on your way to installing them in your space.
Gather Materials for Staining Your Faux Wood Beams
Before jumping into the DIY project of painting faux wood beams, you will need to gather the following items:
- Paintbrush
- Water-based paint
- Unfinished faux wood beam
- Clean cotton cloth
- Drop cloth
How to Paint Faux Wood Beams Step by Step
Now that you’ve gathered a few basic supplies, you’re ready to get started on painting your faux wood beams.
Helpful Hint: To make your life easier, it's recommended that you finish your beams before installing them. Painting a full beam overhead is much harder than finishing it while it's still on the ground. After installation, you can make minor touch-ups as needed.
1. Clean the faux wood beams
The first step to finishing faux wood beams is to ensure that the beams have been gently cleaned and wiped down. Otherwise, you may risk dust or debris being mixed in with the paint, which may not provide the highest quality coating.
2. Acclimate the faux wood beams to the installation location
After cleaning the beams, you will want to leave them in the installation location for at least 24 hours (but away from excess moisture, heat sources, and/or direct sunlight). This will allow the faux wood to adapt to the environment where it will be installed.
3. Test a section with the paint

Before jumping into painting all of the faux wood beams, you should test a few areas to make sure the color of the stain meets your expectations. Testing can be a great way to ensure you love the faux wood beams when you install them. REMEMBER: once applied, paint cannot be removed and sanding will ruin the texture of the beam.
4. Start painting faux wood
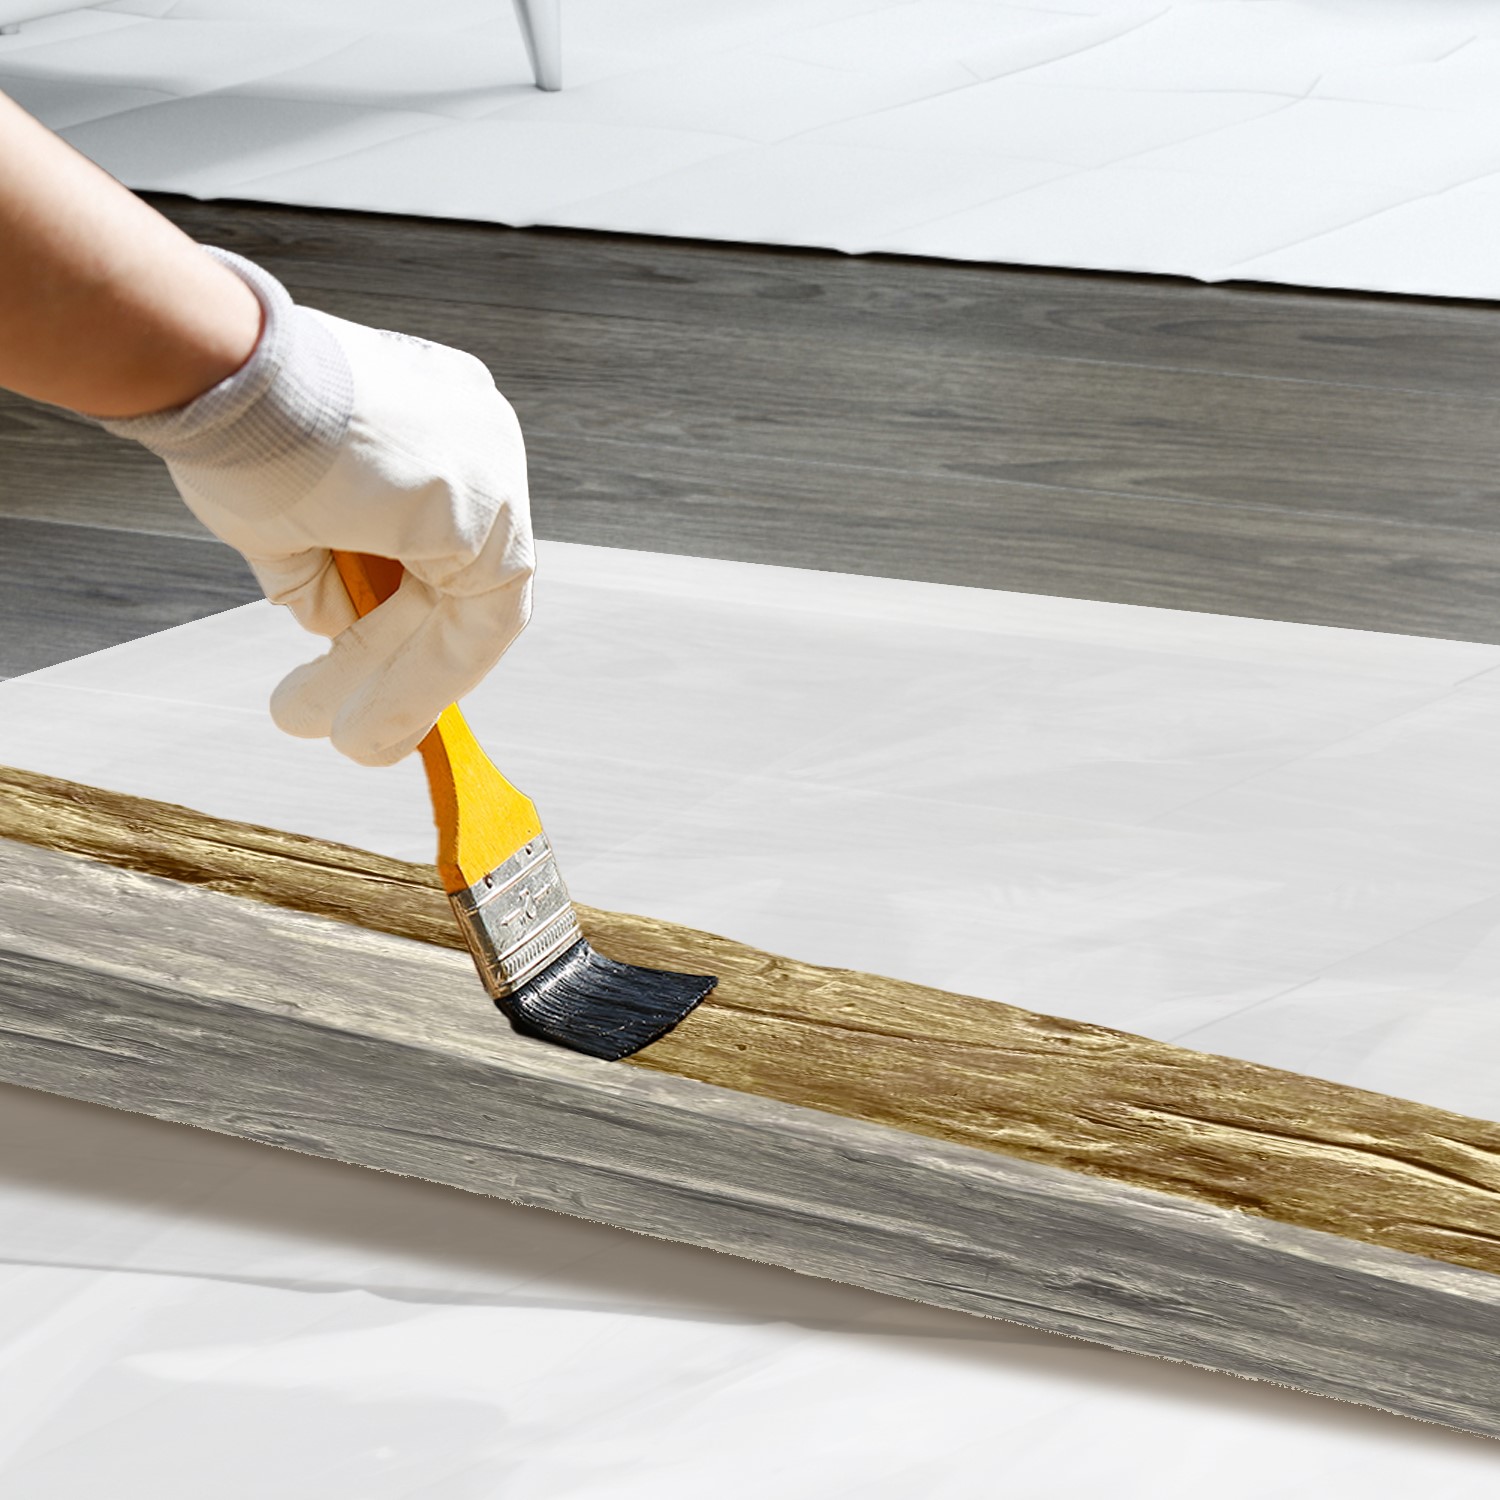
Thoroughly mix your paint and dip your paintbrush into the mixture. Then, using the clean cotton cloth, wipe the excess paint off onto the cloth. When the paintbrush has minimal paint on it, you can begin to paint directly onto the faux wood beam.
This is known as the dry brush method and is an effective method for finishing faux wood beams. You will also want to be sure to paint with the grain of the faux wood for best results.
5. Allow the paint to fully dry
Before applying a second or third coat, you want to allow the faux wood beams to fully dry. This lets you see the true color of the paint before deciding if additional coats are needed.
6. Add coats to the desired color
After your faux wood beams are dry, you can decide if you should do additional coats of stain to deepen and darken the color of the beams. This is where you are truly able to get the exact unique color and look you are looking for for your space.
Tips for Finishing Faux Wood Beams

While the steps above will take you through the entire process of staining faux wood beams, some additional tips and tricks might be helpful. These include:
- Only use water-based paints (oil/solvent-based products will not dry).
- Take your time. Apply the paint in very thin layers and allow it to completely dry between coats. Paint cannot be removed.
- Do not sand the beam. Sanding will destroy the texture.
- Avoid using paint rollers and paint sprayers.
- Consult a local paint expert for specific paint recommendations.
Painting faux wood beams on your own is an easy and great way to make the beams in your home more custom to your style. You can even follow these steps to customize and finish your faux wood beam mantel above your fireplace.
There are lots of options on how to enhance your home with faux wood beams and unfinished beams come at a much more affordable cost than solid wood beams. Paired with our DIY staining process, faux wood beams can be even more unique to your home.
Haven't gotten your unfinished Faux Wood Beams yet?
Looking for more ideas and inspiration? Click below to see us featured in the HGTV® Dream Home 2022.