Installing Ledgers & Trim
General Tools And Materials:
Click Here to Download a Printable PDF Version-
 Caulk Gun
-
 Color
Complimenting Textured
Caulk
Color
Complimenting Textured
Caulk
-
 Loctite® PL®
Premium®
3X Construction Adhesive
Loctite® PL®
Premium®
3X Construction Adhesive
-
 Screw Gun /
Drill Driver
and Bits
Screw Gun /
Drill Driver
and Bits
-
 Deck
Screws
Deck
Screws
-
 Wood Cutting
Saw with
Finish Blade
Wood Cutting
Saw with
Finish Blade
-
 Tape
Measure
Tape
Measure
-
 Clean Cloth
-
 Cotton
Swabs
Cotton
Swabs
-
 Small
Paint Brush
Small
Paint Brush
-
 Pencil
-
 Touchup Kit
Installation-Specific Tools And Materials:
Adhesive Only Over Concrete/Masonry/Metal
-
 Disposable
Gloves
Disposable
Gloves
-
 Great Stuff
ProTM Construction
Adhesive
Great Stuff
ProTM Construction
Adhesive
-
 Great Stuff
Applicator
Gun
Great Stuff
Applicator
Gun
-
 Great Stuff
Pro Gun
Cleaner
Great Stuff
Pro Gun
Cleaner
Before You Start
- Ensure surfaces are structurally sound and in good condition. Surfaces such as drywall should be flat and smooth to minimize gaps.
- Acclimate all materials by storing them flat in the installation location (but away from moisture and direct sunlight or other heat sources) for at least 24 hours.
- Gather all tools and materials.
- Be sure to obey all safety rules and recommendations set forth by tool manufacturers.
- Follow local building and fire codes.
- Wear safety glasses during the entire installation process.
Directions

Step 1
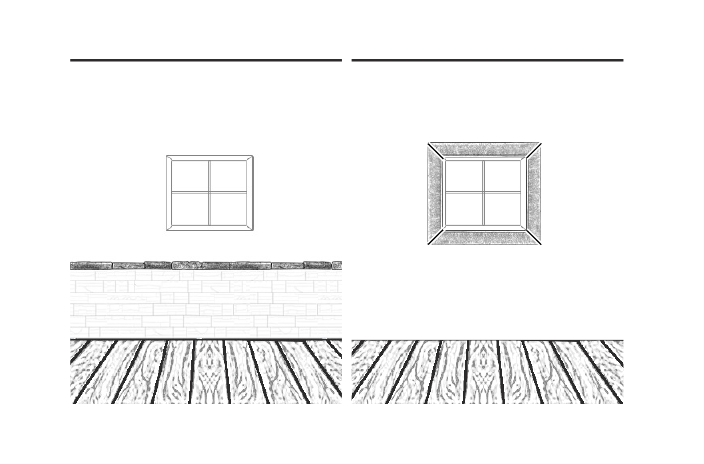
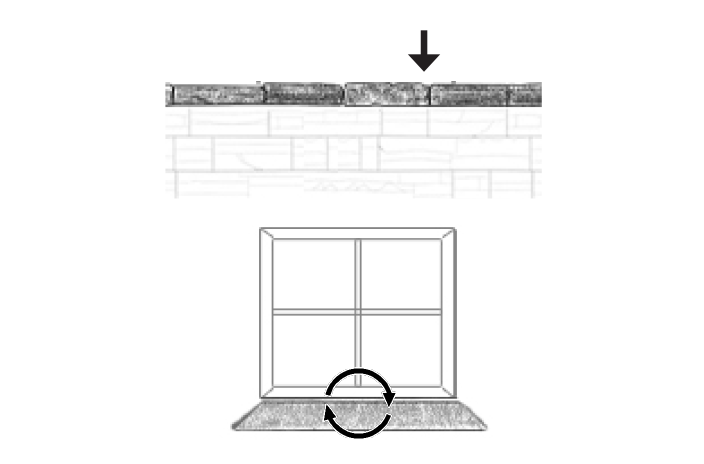
Plan the Installation
Determine the lay out of the trim pieces.
NOTES:
- Window and door trim needs to be installed prior to installing panels.
- Ledger trim is to be installed after panel installation is complete.
- For exterior installations flashing needs to be installed prior to adding the trim pieces.

Step 2
Cut Trim
Tools:
- Tape Measure
- Wood Cutting Saw with Finish Blade
- Pencil
- Measure, mark and cut the trim as needed.
- To create a visible grout line, cut an additional 1/16 inch off of the trim.
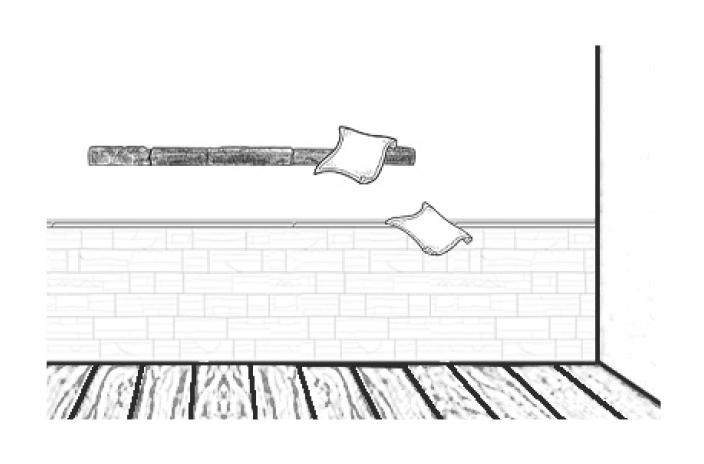
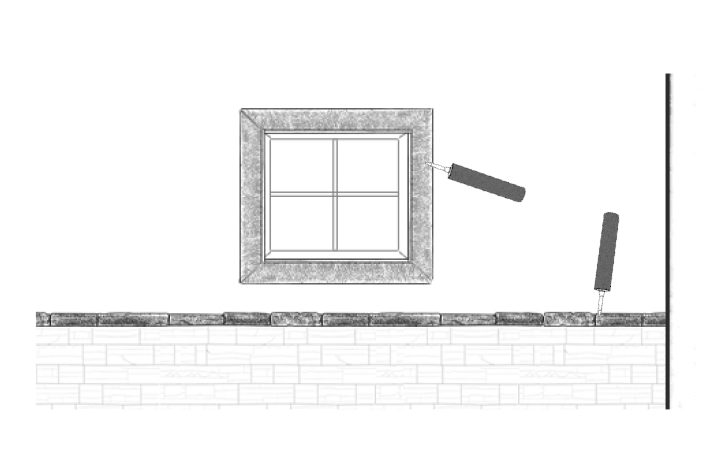
Step 3
Dry Fit
Lift the trim to the installation location and ensure it fits as desired.
NOTES:
- Window and door trim is to be Installed prior to installing panels.
- Ledger trim is to be installed after panel installation is complete.
- For exterior installations flashing needs to be installed prior to adding the trim pieces.
Step 4
Prepare Surface
Tools:
- Clean Cloth
Clean surfaces are required for proper adhesion. Wipe the walls and the back of the trim with a tack cloth to remove any dirt or sawdust.
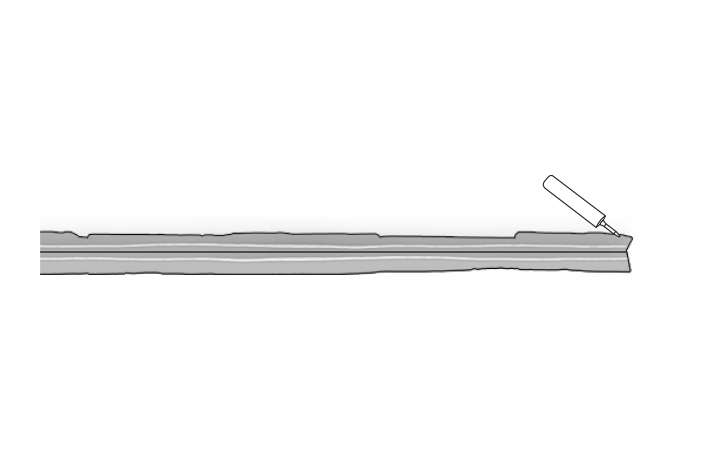
Step 5
Apply Adhesive
Tools:
- Caulk Gun
- Loctite PL 3X
Apply two beads of adhesive to the back of the trim.
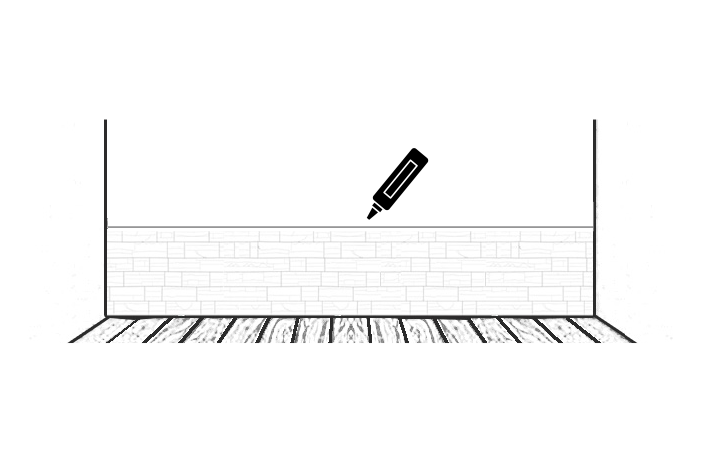
Step 6
Apply Caulk (Ledger Installation Only)
Tools:
- Caulk Gun
- Caulk
Apply a bead of caulk to the edge of the panel.
Step 7
Install Trim Pieces
- Set trim piece in place. Use a slight twisting motion to ensure good contact between the adhesive on the trim and the wall. For adhesiveonly installation manually hold the trim in place until the adhesive sets.
- Fasten the trim to the wall by placing a screw every 16 inches or as needed. Slightly recess the screw, do not over tighten. For window/door trim screws can be hidden if “toe-screwed” in from the sides or top and bottom.
- Be sure to leave a small gap between pieces if a grout line is desired.
Step 8
Apply Caulk
Tools:
- Caulk Gun
- Caulk
- Add color coodinating textured caulk to the seams where trim pieces meet.
- For exterior installations, place a bead of caulk between the trim and the wall.

Step 9
Touch-Up
Tools:
- Clean Cloth
- Caulk
- Caulk Gun
- Touch-Up Kit
- Small Paint Brush
- Add color coordinating textured caulk to fill screw holes.
- Use a damp cloth to remove any excess caulk, paying close attention to all seams.
- If desired, use the paint from the touch-up kit to further conceal screw holes.